Enabling and Configuring the New Editors
A new generation of visual (WYSIWYG) and code editors is now included in the Webvanta Cloud CMS.
If you would like to use the new editors, there are several changes that must be made to the site's setup. There are also several new settings and behavior changes. As a result, we have not enabled the new editors by default.
Webvanta support will configure the new editors on your site on request. Please submit a support ticket if you would like us to do so.
Credits and Documentation
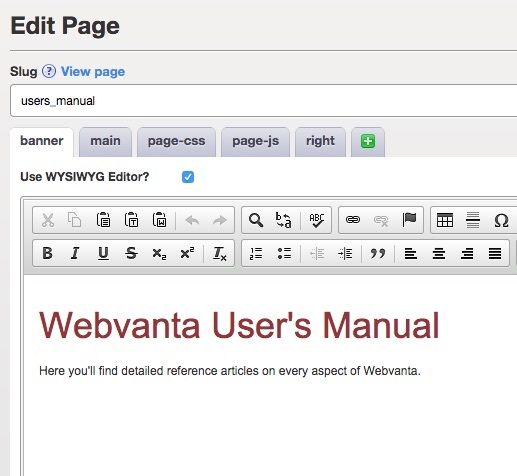
These editors are based on the CKEditor for the WYSIWYG view and Code Mirror for the code editor. Please refer to their sites for detailed documentation of the core editor features.
New Features
Among the many new features provided by the new editors are:
- Compatible with IE8, IE9, IE10, IE11, and current version of Chrome, Safari, and Firefox.
- Can be used on iPads, and on Android tablets using the Chrome browser.
- Integrated spell-checker in the WYSIWYG editor.
- Streamlined image-uploading dialog, with ability to choose renditions and CSS classes, as well as to set the caption and alt tags.
- Improved HTML markup generated by the WYSIWYG editor.
- Greatly improved performance for large files in the code editor.
- Automatic generation of closing tags in the code editor.
- Ability to specify the editor type for snippets and for page regions.
- Control-S (Cmd-S on Macs) will save the page, snippet, or database item type.
- Cursor position and scroll position are retained when saving.
Enabling and Configuring the Editor
The following table lists the configuration settings that must be added to enable the new editors.
| Config Setting Name | Config Setting Value | Notes |
|---|---|---|
| admin.custom.use_new_editors | true | If not set to "true", the legacy editors will be used |
| admin.custom.default_upload_folder | folder name | Sets the default folder for image uploads. Default is visual-editor-uploads. |
| admin.custom.new_editor_class_list | Comma-separated list of CSS classes to display in the image dialog | |
| admin.custom.new_editor_renditions_list | Comma-separated list of renditions to display in the image dialog |
Providing Easily Chosen Custom Styles
webvanta-editor-styles.js is a JSON file that specifies what should appear in the editor's Styles drop-down. We recommend using this to specify a short list of CSS classes that people entering content may want to use. You can create this file via Structure > JS Files.
Here's an example file:
CKEDITOR.stylesSet.add( 'webvanta', [
// Block Styles
{ name: 'Image on Left', element: 'img', attributes: { 'class': 'float-left' } },
{ name: 'Image on Right', element: 'img', attributes: { 'class': 'float-right' } },
// Inline Styles
{ name: 'Red Text', element: 'span', attributes: { 'class': 'highlight' } }
] );
The name specifies the name that appears in the drop-down list. The element specifies which HTML elements to which the style can be applied. The attributes specify what should be applied to the element when the style is selected. We recommend using only classes here, so that the styling remains defined by your CSS.
For full details on what you can put in this file, refer to the CKEditor documentation.
For the older version of the editor, this information was represented in an XML file, webvanta-editor-styles.xml, which you can find under Structure > Feeds & XML Files. For the new editors, the content must be reformatted into a JavaScript (JSON) file as described above.
Styling the Editor Area
The file webvanta-editor-styles.css must be provided to control the styling of the content in the editor area. Note that the styles applied to the front-end view of your site are not applied in the editor. Typically, you will want to provide a stripped-down version of your main site's CSS.
For the older version of the editor, this file was called webvanta-preview.css. If you have this file, you can simply rename it to webvanta-editor-styles when changing to the new editors.
Editing from the Front-End
You can enable front-end editing by toggling the "Edit Off" button to "Edit On" in the admin toolbar (the black bar that appears at the top of the site when logged in). If your page includes regions that are set to WYSIWYG mode in the control panel, those regions will be clickable and editable in-place using CKEditor. A convenience of this editor is that all styles from your site are automatically applied to the content in the editor - no need to configure in-place editor styles.
When you are done editing a region, click the "Save" icon in the upper right corner of the floating toolbar. A notification will pop up in your browser indicating whether the region saved successfully.
When Edit mode is on, a document icon will appear when hovering over database item content, such as the content displayed on an Item page. Click this icon to be taken to the database item's edit screen.
To edit other components of the page, you can click "Go to Page" in the admin toolbar, which will open the edit screen for the current page in your site's control panel.
Choosing Editor Type for Page Regions and Snippets
The new WYSIWYG editor does not support WebvantaScript. If you use the new WYSIWYG editor on content that includes WebvantaScript, that code will be stripped out upon saving.
When the new editors are enabled, there is a checkbox in the page edit dialog for each region. Check the box for regions that you want to edit in WYSIWYG mode (and, of course, that have no WebvantaScript). Then click QuickSave at the bottom of the page, and the wysiwyg editor will be displayed in the selected regions.
Note that code view remains available to you when using the WYSIWYG editor. Just click the Source button. Keep in mind, however, that only HTML code should be entered; WebvantaScript or other code will be stripped out upon saving.
A similar checkbox is available for each snippet (Structure > Snippets). We recommend checking this box for all snippets that include only HTML code.