Setting up your DNS with GoDaddy
This article goes step-by-step through every detail of setting up your domain name settings on GoDaddy.
If your name is registered elsewhere, the procedure should be similar, but the user interface will be different. (Some DNS providers do not provide domain forwarding. In that case, we recommend changing DNS providers, or submit a support ticket for help.)
If you're looking for the overview of what you need to do, instead of the blow-by-blow description for GoDaddy users, see the article Setting Your DNS.
Editing Your DNS Settings at GoDaddy
Here's the step-by-step process, as of July 2014. Note that you may see a slightly different user interface, but the concepts should be the same.
View the Domain Details Page
One way or another, get to the list of your domains. There are several ways to do this, and GoDaddy changes their user interface frequently. If you are on the Account page:
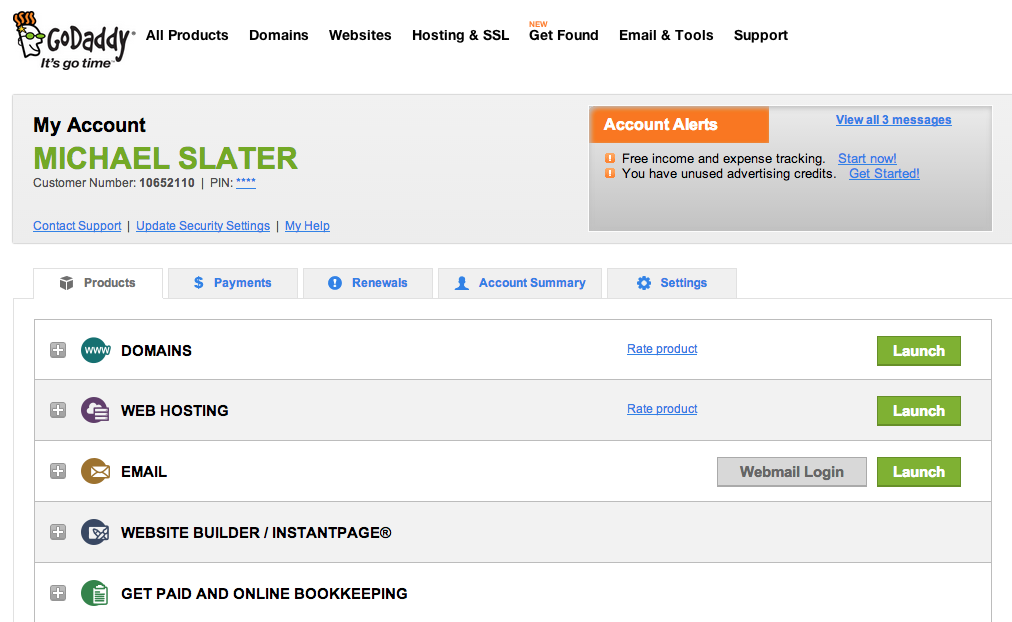
Click the green Launch button to the right of Domains. Or you can choose Manage My Domains from the Domains drop-down.
Now you should see the Domains list.
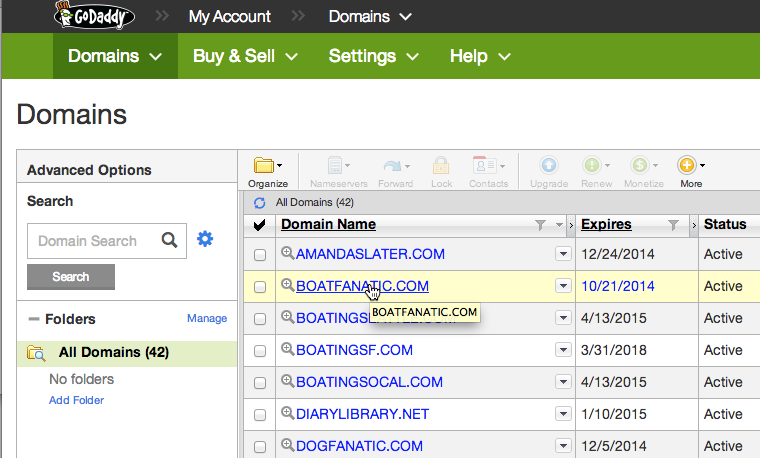
Click on the domain you want to set up.
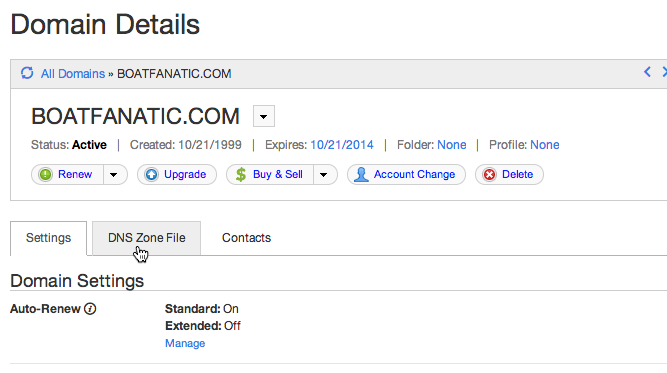
Now you should see the Domain Details page:
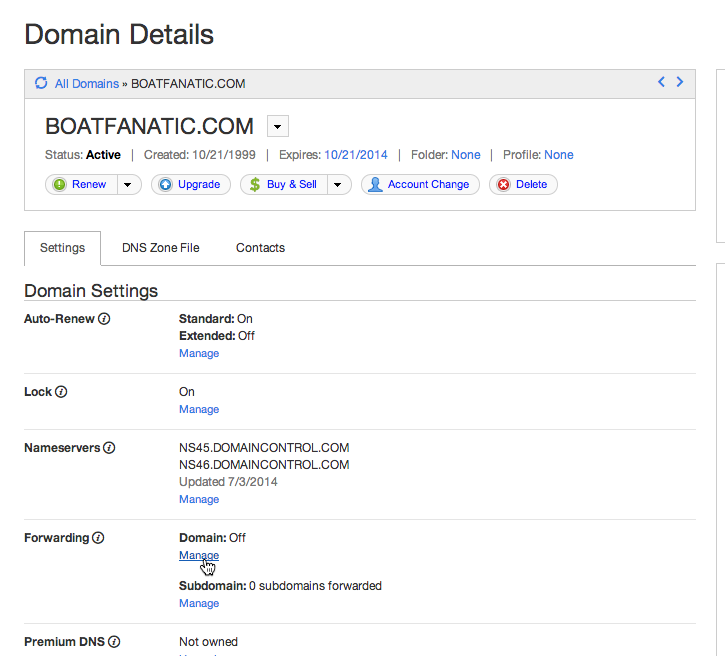
Set Up Forwarding
Click the Manage link, under Forwarding. You'll now see the Forwarding and Masking dialog:
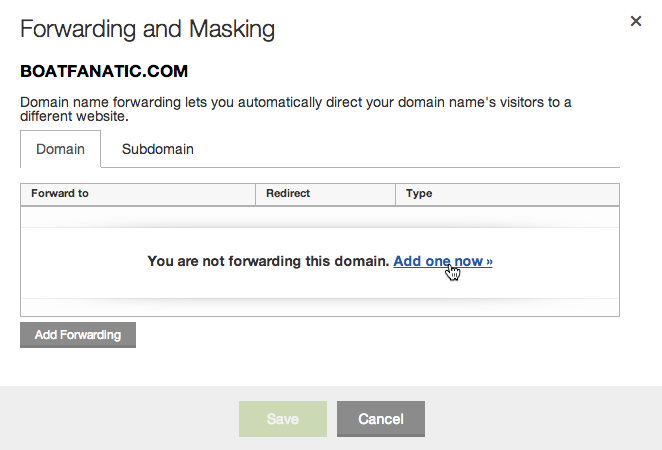
Assuming you are not already forwarding this domain, you should see a link that says "Add one now". Click that link, and you'll see the Add Forwarding dialog:
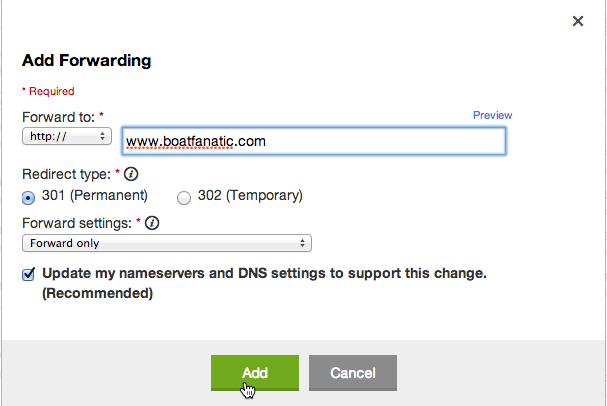
In the Forward To field, enter the domain name with the www prefix.
The other values can be left at their defaults (301, Forward Only, Update my nameservers checked).
Click Add.
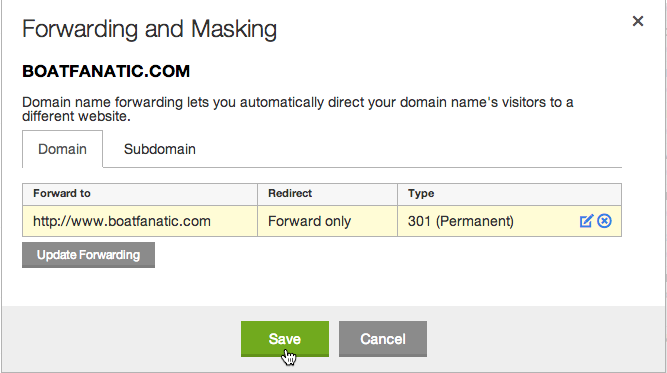
Click Save.
In theory, you have now set mydomain.com to forward to www.mydomain.com. Often, however, you need to take one more step, described below, before this will work.
Edit the Zone File
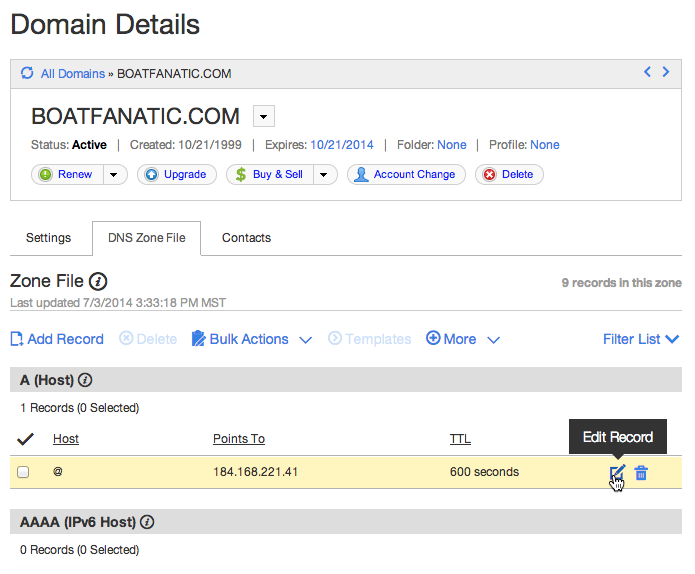
Now we need to edit the actual DNS records. Click on the DNS Zone File tab:
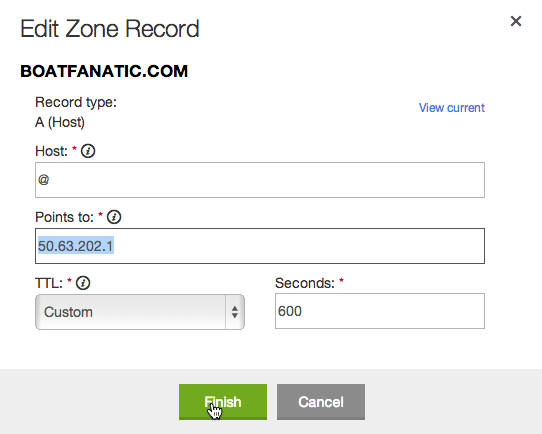
Let's start with the A record for "@", which is the IP address for the root, or apex, domain (mysite.com). This should be 50.63.202.1, which is the IP address for GoDaddy's forwarding server. Their system is supposed to set this automatically when you enable forwarding, but in our experience, it generally doesn't. So if the A record for @ is not 50.63.202.1, then click on the edit link for the @ A record:
And enter 50.63.202.1 into the "Points To" field, and click Finish:
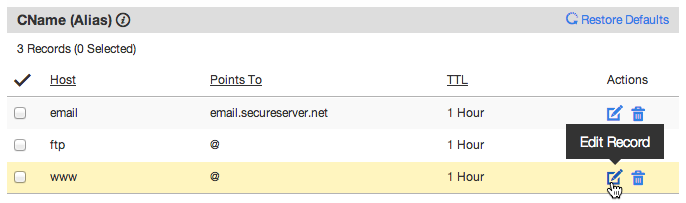
Now we need to edit the www CNAME entry, which is what points to the Webvanta servers.
Click on the Edit button for the www CNAME record:
And you'll see the Edit Zone Record dialog:
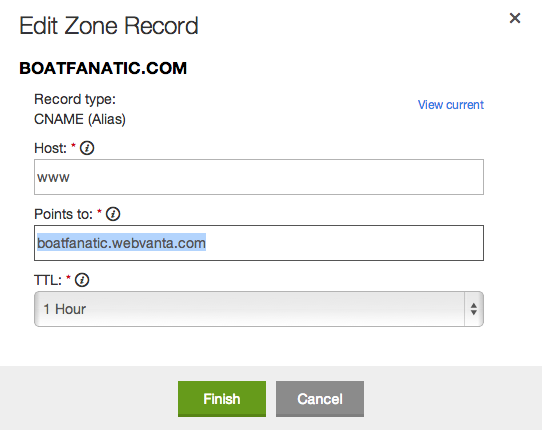
In the "Points To" field, enter your Webvanta subdomain (which you chose when you created the site, and used to access it during development) followed by webvanta.com. For example, for www.boatfanatic.com, assuming we used boatfanatic as the subdomain, enter boatfanatic.webvanta.com.
Click Finish to close out the Edit Zone Record Dialog.
And finally, click Save Changes in the red bar:
Waiting for DNS to Propagate
When you make changes to your nameserver or domain forwarding settings, you're making changes at the "master" location for this information for your site.
But this DNS information is cached in millions of places across the Internet. The caches hold onto names they have recently looked up, until their "Time to Live" expires.
If a name is not in a particular DNS cache, the DNS software will automatically access the information from other places in the DNS network. For a while, however, local DNS servers may hold on to their cached values. As a result, it can take up to 24 hours for the changes you make to your DNS to be reflected everywhere on the Internet.
Usually, however, the change propagates within an hour or two, and sometimes within minutes (though lately GoDaddy seems to be taking an hour or two just to begin propagating the changes across the net).
You may be able to speed things along by clearing the local DNS caches on your computer. (Google "flush DNS" and the your operating system version, such as Windows 8 or Mac OS 10.9, for instructions on how to do this. It may also help to restart your browser.)
For more information see: